Interested in wood carving but not ready to fill an entire garage with woodworking machinery?
Carving is one of the most approachable ways to start working with wood because many projects can be made with a small piece of material and only a few hand tools.
Your first carving also does not need to be an elaborate eagle, realistic portrait, or detailed animal. Simple shapes are usually a much better place to begin because they let you concentrate on controlling the tool, following the grain, and gradually shaping the wood.
This guide covers the basic tools, carving styles, wood choices, safety considerations, and 12 beginner-friendly projects you can use to start building your skills.
Affiliate disclosure: This article contains affiliate links. If you purchase something through one of these links, we may earn a commission at no additional cost to you. As an Amazon Associate I earn from qualifying purchases.
If you are completely new to woodworking, you may also find our basic woodworking techniques guide useful.
What Does a Beginner Need for Wood Carving?
You do not need to buy a giant carving-tool collection before you know what kind of carving you actually enjoy.
A small starter setup is usually more useful because it lets you learn what each tool does before adding specialized equipment.
1. A Carving or Whittling Knife
For small figures, basic whittling, and general shaping, a dedicated carving knife is one of the most useful tools to start with.
The blade shape, length, handle, and intended use vary considerably between carving knives, so choose one that matches the type of projects you plan to make.
One current example you can compare is the BeaverCraft C4 Sloyd-style carving knife.
View the BeaverCraft C4 Carving Knife on Amazon (paid link) (#CommissionsEarned)
2. A Small Starter Set
If you want to experiment with several knife styles instead of beginning with a single knife, a small starter set can make sense.
The BeaverCraft S15, for example, combines several carving knives with stropping supplies rather than giving you dozens of nearly identical mystery tools.
View the BeaverCraft S15 Carving Set on Amazon (paid link) (#CommissionsEarned)
These are examples to compare, not claims that we personally tested every product listed here.
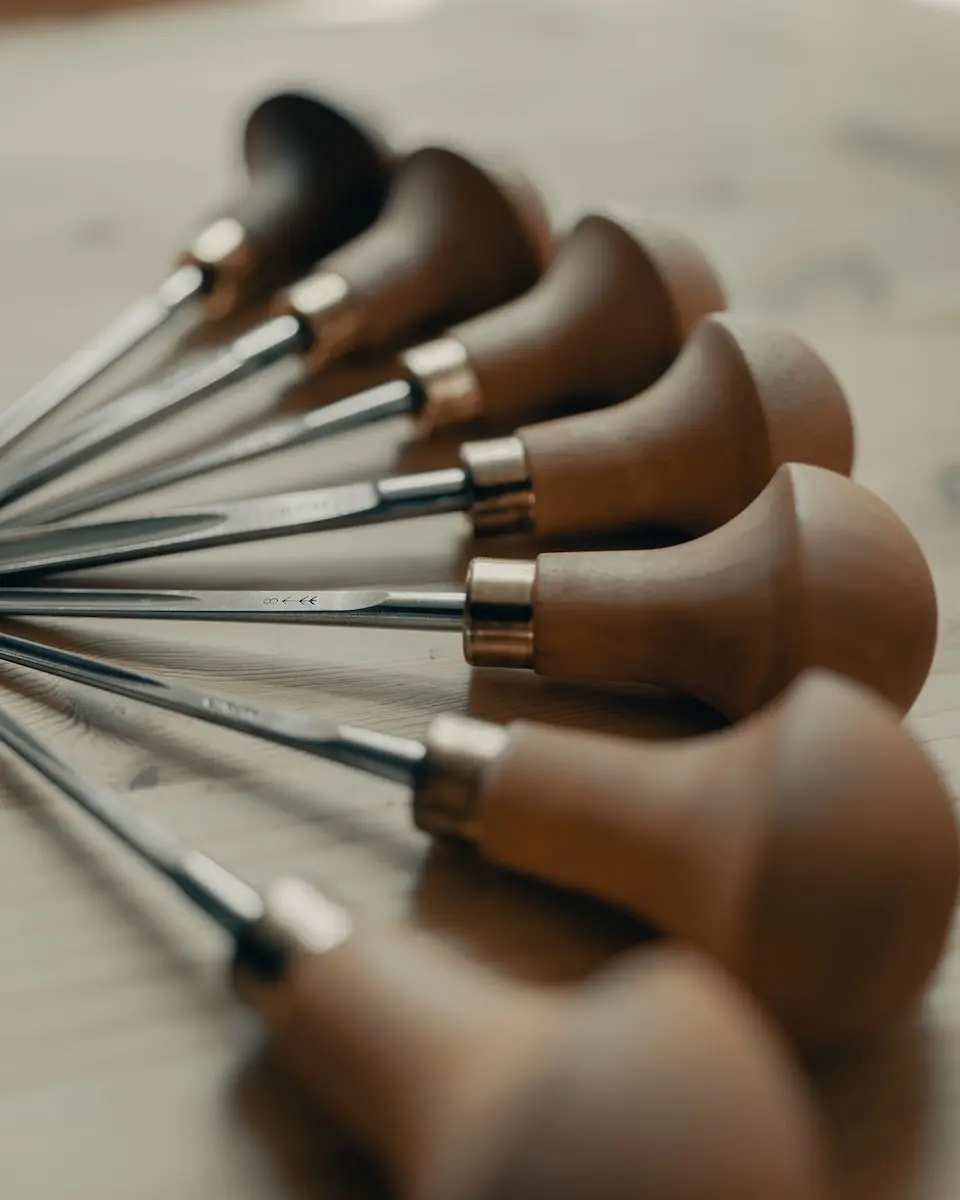
3. Gouges and Palm Tools
Gouges become more useful when you move into relief carving, hollowing, textures, curved surfaces, and projects where a straight knife cannot efficiently create the shape you need.
You do not necessarily need them for your very first mushroom or simple whittled figure.
For someone who specifically wants to explore palm gouges, one current option is the BeaverCraft SC05 six-piece set.
View the BeaverCraft SC05 Palm Carving Set on Amazon (paid link) (#CommissionsEarned)
4. Carving Wood
Choosing suitable wood can make your first attempts considerably less frustrating.
Basswood is popular for hand carving because its relatively fine, even grain and workable texture make it well suited to many small projects. That does not mean it is the only carving wood, but it is a sensible material for practicing basic cuts.
Starting with prepared carving blanks also saves you from having to mill larger lumber before you can practice.
View BeaverCraft BW18 Basswood Carving Blocks on Amazon (paid link) (#CommissionsEarned)
5. Sharpening and Honing Supplies
Carving tools need ongoing edge maintenance. The exact sharpening system depends on the tools you own and their manufacturer’s recommendations.
A leather strop and appropriate polishing compound are commonly used for maintaining carving-knife edges between more substantial sharpening sessions.
Do not wait until a blade performs poorly before learning how its manufacturer recommends maintaining it.
Wood-Carving Safety for Beginners
Wood carving involves extremely sharp tools. Treat every carving knife, chisel, and gouge as capable of causing a serious cut.
Before beginning, read and follow the safety instructions supplied by the tool manufacturer.
- Control the workpiece. Do not carve something that is sliding, wobbling, or awkwardly balanced.
- Keep hands out of the blade path. Think about where the blade will travel if it slips or exits the wood unexpectedly.
- Favor controlled cuts. Especially while learning, avoid aggressive cuts and positions that direct the tool toward your body.
- Use appropriate protective equipment. Depending on the operation, this may include eye protection, suitable hand protection, dust protection, or secure workholding.
- Do not rely on protective gloves as permission to make unsafe cuts. Protective equipment is an additional layer, not a substitute for good tool control.
- Work in good light. Being able to see the grain, blade, and cut clearly makes a difference.
- Keep the work area uncluttered. Loose tools and scraps around your carving area create unnecessary distractions.
- Stop when you are tired. Fine hand-tool work and fatigue are a poor combination.
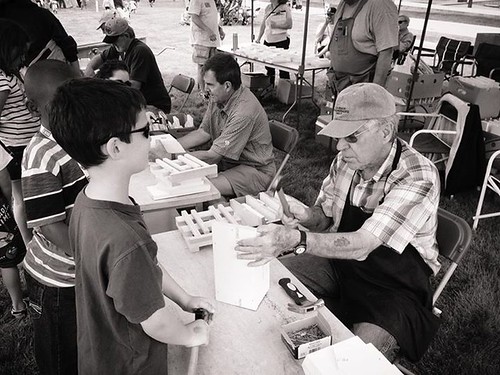
If you are introducing a younger person to carving, treat carving tools as sharp tools rather than toys and follow both the manufacturer’s age guidance and appropriate adult-supervision practices.

How to Choose Wood for Carving
The old version of this article tried to divide woods into rigid categories such as one species being “best” for relief carving and another being “best” for chip carving.
In practice, wood choice is more nuanced.
Consider these characteristics instead.
Grain
Wood grain affects the direction in which the fibers want to split and how cleanly a cut behaves.
Fine, relatively even grain can be easier to understand when you are learning than highly figured, irregular, or knot-filled stock.
Hardness
Dense hardwoods can produce beautiful carvings, but removing material may require more effort and better-developed technique.
Softer carving woods can make early practice less tiring.
Knots and Defects
Knots, checks, cracks, bark inclusions, and abrupt grain changes can make carving less predictable.
A plain, sound blank is often a better learning material than a visually dramatic piece of wood.
Project Size
A tiny ornament and a large relief panel do not place the same demands on the material.
Choose a blank large enough for the finished project plus enough extra material to establish the rough form safely.
Dry Versus Green Wood
Some carvers intentionally work green wood while others use dry blanks. Each behaves differently.
If you are just beginning, commercially prepared carving blanks give you a more repeatable starting point while you learn how grain direction affects the cut.
For a broader look at lumber characteristics, see our guide to wood types and their uses.
5 Basic Types of Wood Carving
You do not need to master every carving style at once. Knowing the basic differences simply helps you buy the right tools and choose appropriate projects.
1. Whittling
Whittling generally uses a knife to remove small amounts of wood and develop a three-dimensional shape.
Small figures, mushrooms, simple animals, ornaments, and practice shapes are common projects.
2. Relief Carving
Relief carving begins with a relatively flat piece of wood. Material is removed around the design so parts of the image appear raised from the background.
Relief work commonly makes greater use of gouges and other shaped carving tools.
3. Chip Carving
Chip carving creates patterns by removing small, controlled pieces from the surface.
Geometric borders, rosettes, and decorative patterns are common examples.
4. Carving in the Round
Carving in the round creates a three-dimensional object that can be viewed from multiple sides.
Figures, animals, small sculptures, and decorative objects fall into this category.
5. Spoon and Functional Carving
Spoons, scoops, and similar objects combine exterior shaping with hollowing.
They can require a different mix of tools than basic whittling, particularly when creating the bowl of the spoon.

Basic Carving Skills to Practice First
Learn to Read the Grain
Before concentrating on decorative detail, pay attention to how the tool behaves as you change cutting direction.
If the fibers begin tearing rather than slicing cleanly, stop and reconsider the direction of the cut instead of simply pushing harder.
Remove Wood Gradually
A beginner does not need to reach the final shape in a few dramatic cuts.
Remove modest amounts of material, inspect the project frequently, and refine the form in stages.
Work From Large Shapes to Small Details
Establish the overall silhouette before carving eyes, feathers, facial expressions, texture, or tiny decorative details.
If the overall shape is wrong, adding detail only makes the incorrect shape more detailed.
Practice Symmetry Separately
Projects such as hearts, mushrooms, faces, and animals often depend on basic symmetry.
Check both sides repeatedly instead of waiting until the end to discover that one half is dramatically larger.
Learn Edge Maintenance Early
Edge maintenance is part of carving, not an occasional repair job.
Follow the sharpening and honing method recommended for the particular blade geometry you are using.
12 Easy Wood-Carving and Whittling Projects for Beginners
Your first project should teach you something without demanding every carving skill at once.
1. Simple Wooden Mushroom
A mushroom is one of the most forgiving first shapes because the basic form is immediately recognizable.
Establish the stem and cap first. Ignore tiny texture and decorative details until the proportions look right.
2. Wooden Heart
A heart gives you an excellent symmetry exercise.
Draw or establish the basic shape, gradually round the edges, and compare both halves repeatedly as you work.
3. Simple Leaf
Begin with the outside silhouette of the leaf.
Once that looks convincing, experiment with a central vein or a few shallow details rather than trying to reproduce every vein found in a real leaf.
4. Tiny Evergreen Tree
A stylized tree can be reduced to a trunk and several progressively wider layers.
That repeated structure gives you useful practice controlling similar cuts.
5. Small Fish
Work on the overall body and tail before attempting scales.
A clean silhouette will usually communicate “fish” more successfully than a poorly proportioned body covered in tiny details.
6. Tiny House
A small house starts as a block-like shape and introduces straight lines, a roofline, and shallow architectural detail.
You can make the first version extremely simple and add windows or a door only after the main shape is established.
7. Simple Owl
An owl is a good progression project because a recognizable design can be made from a compact body, large eye areas, and only a suggestion of wings.
Skip individual feathers on your first attempt.
8. Wooden Gnome
A simplified gnome can be broken into three main visual elements: a tall hat, nose, and beard.
That makes it possible to create a recognizable character without learning realistic human anatomy first.
9. Small Pumpkin
Begin with the round overall shape and then gradually establish the segmented grooves.
A little wooden pumpkin also makes a useful seasonal practice project.
10. Wooden Christmas Tree
A stylized Christmas tree uses repeated shapes similar to the evergreen exercise but can later be painted, finished, or drilled for use as an ornament if the design allows.
11. Simple Spoon
A spoon is a bigger step because the project must combine an exterior silhouette with a hollowed bowl.
Treat this as a progression project after you are comfortable controlling basic shaping cuts.

12. Practice Face
Do not begin by trying to make a photorealistic portrait.
Use a practice block to explore a simple brow, nose, and mouth. Think of it as an exercise rather than a masterpiece you have to display.
What Should a Beginner Carve First?
If you have never carved before, start with a project that has a simple silhouette and very little fine detail.
Good first choices include:
- A mushroom
- A heart
- A leaf
- A tiny tree
The goal of project number one is not to prove that you can carve something complicated.
The goal is to finish something while learning how the knife and wood behave.
A Small Carving Setup Beats a Giant Tool Collection
There is no prize for owning every carving tool before finishing your first carving.
Decide what kind of work interests you first.
- Mainly whittling small figures? Start with an appropriate knife or compact knife set.
- Interested in relief carving? Gouges and V-tools become more important.
- Want to carve spoons? You may eventually want tools intended for hollowing.
- Interested in powered carving? That introduces a different set of tools, dust, eye-protection, and workholding considerations.
Buy the next tool because a project gives you a reason to own it, not because a huge set looks impressive in a photograph.
Three Current Starter Options to Compare
- BeaverCraft C4 Sloyd Carving Knife — Amazon (paid link) (#CommissionsEarned) — a single general-purpose carving knife for someone who does not want a full set.
- BeaverCraft S15 Carving Knife Set — Amazon (paid link) (#CommissionsEarned) — several knife styles plus stropping supplies.
- BeaverCraft BW18 Basswood Blocks — Amazon (paid link) (#CommissionsEarned) — prepared basswood blanks for practice projects.
Product availability can change, so check the current listing and manufacturer’s specifications before purchasing.
Common Beginner Wood-Carving Mistakes
Starting With an Overly Complicated Project
A detailed human face or realistic animal may look exciting, but it also introduces many problems at once.
Give yourself a chance to learn tool control before demanding advanced anatomy and texture from yourself.
Trying to Force the Tool
If a cut suddenly requires excessive force, do not automatically push harder.
Check the grain direction, edge condition, workholding, and whether the tool is appropriate for the cut.
Ignoring the Overall Shape
Beginners often become excited about details before the basic proportions are established.
Step back from the carving frequently and examine the silhouette.
Buying Too Many Tools Too Soon
A project-based approach to buying tools keeps costs under control and makes it easier to understand what each tool actually contributes.
Skipping Edge Maintenance
If carving becomes noticeably more difficult, investigate the edge condition rather than assuming the solution is simply more pressure.
Can You Make Money Selling Wood Carvings?
It is possible to sell handmade carvings, but there is no guarantee that a particular carving will be profitable.
Before making a large inventory, create a few samples and calculate:
- The cost of your carving wood
- Finishing materials
- Packaging
- Selling or payment fees
- The time required to carve each piece
Simple ornaments, seasonal figures, personalized pieces, small animals, and gift-oriented carvings are examples you could test without creating a huge inventory.
If selling woodworking projects interests you, also see our updated guide to 10 easy woodworking projects to make and sell.
Want to Move Beyond Small Carvings?
Wood carving is only one corner of woodworking.
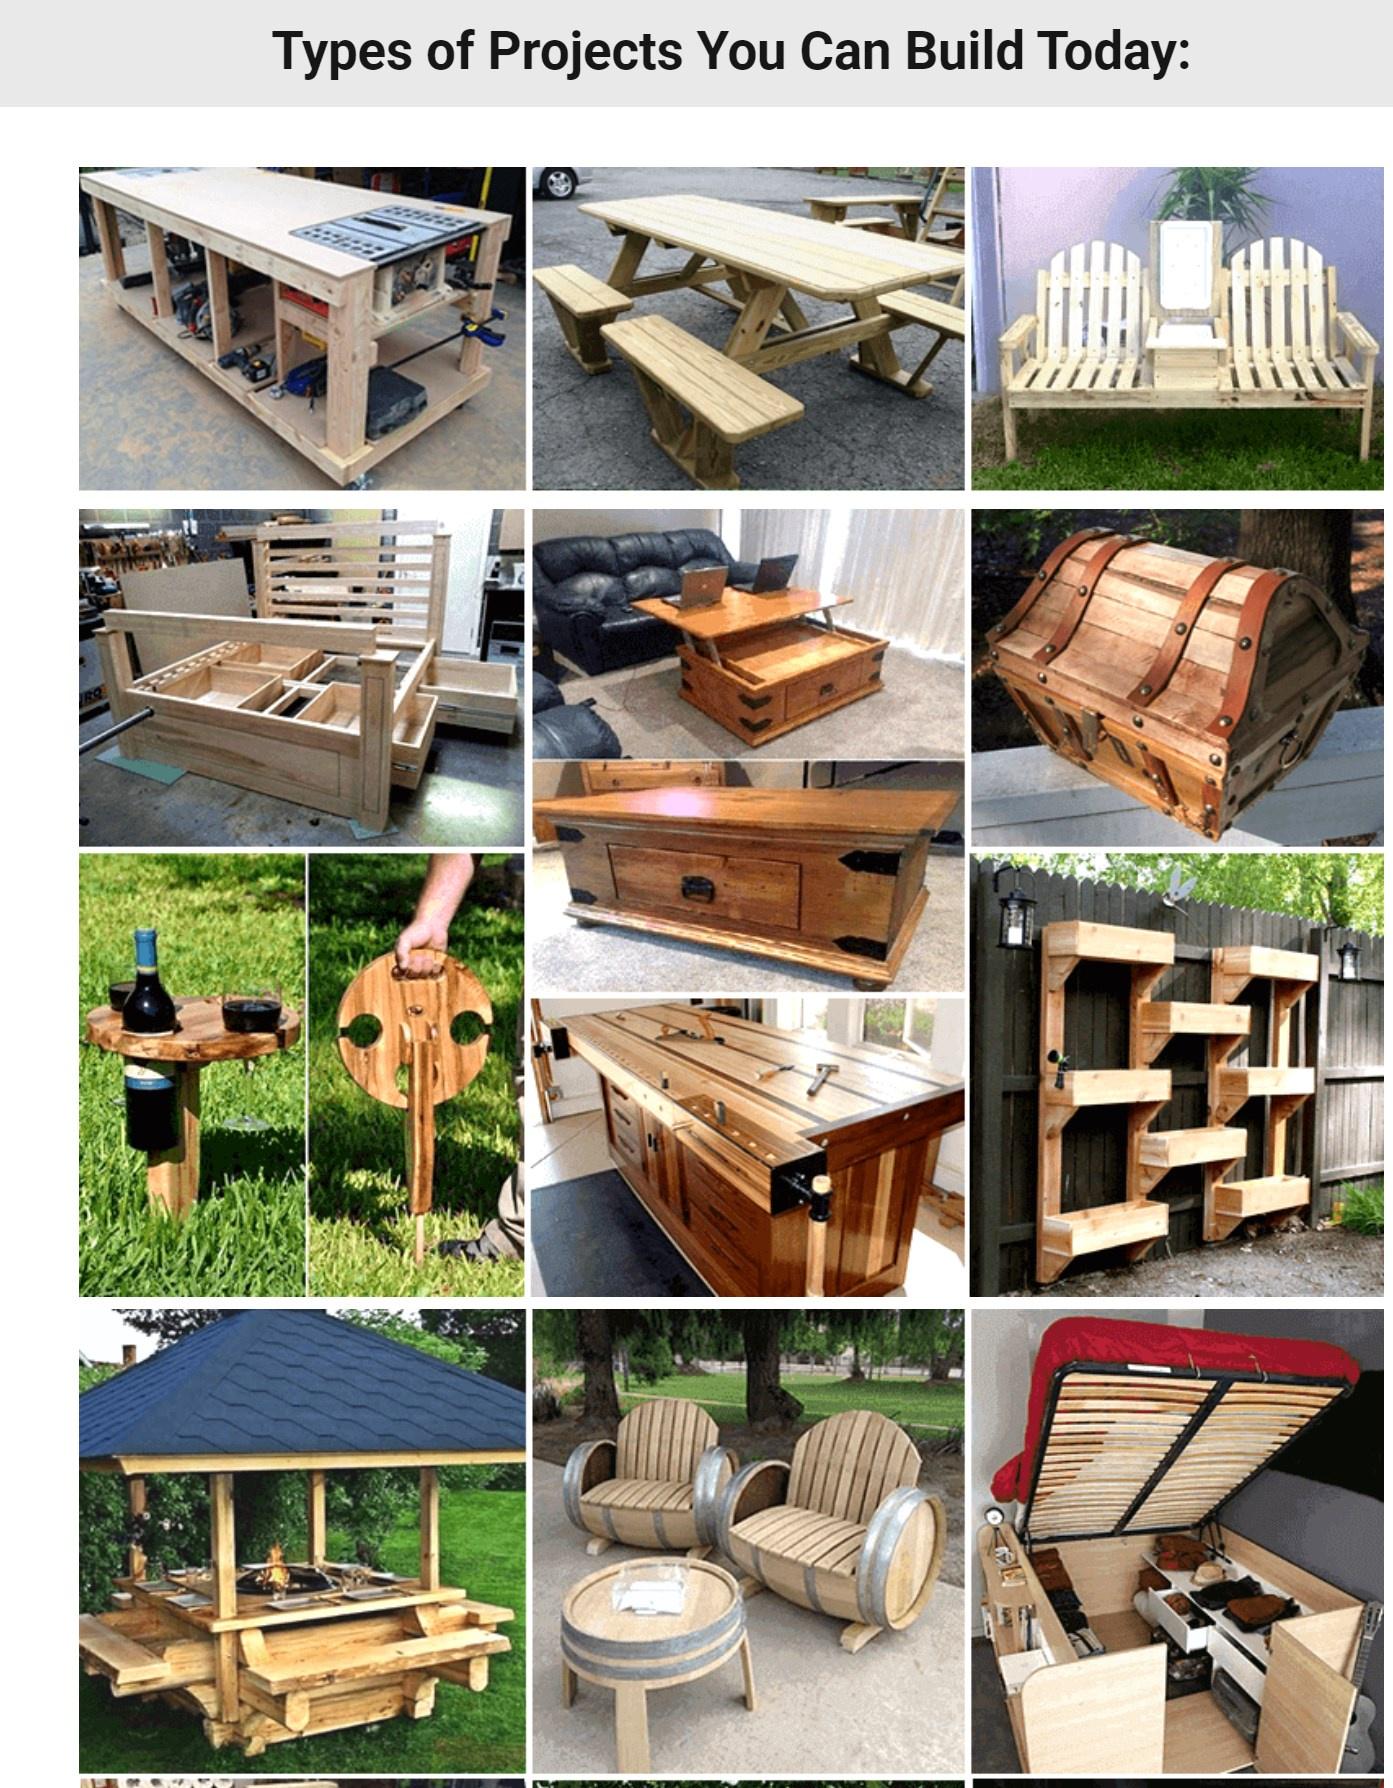
Once you are ready to explore shelves, furniture, outdoor builds, workshop projects, storage, and other plan-based projects, having a larger collection of project ideas can make it easier to decide what to build next.
We have also taken a detailed look at the Ted’s Woodworking plan collection.
Read Our Complete Ted’s Woodworking Review →
A huge plan collection is not automatically right for every woodworker, so read the review and decide whether it matches the type of projects you actually want to build.
Wood Carving for Beginners: Frequently Asked Questions
What is the easiest wood to carve for a beginner?
Basswood is a popular beginner choice because its relatively fine grain and workable texture suit many hand-carving projects. The quality and grain of the individual blank still matter.
Can I start wood carving with just one knife?
For basic whittling projects, a suitable carving knife can be enough to begin practicing. Other carving styles eventually benefit from specialized tools such as gouges, V-tools, or hollowing tools.
Do I need power tools for wood carving?
No. Traditional hand carving can be done without power tools. Powered carving is a separate approach that introduces different equipment and safety considerations.
Should a beginner start with hardwood?
You can carve hardwood, but denser material generally takes more effort. Many beginners find a suitable carving wood such as basswood easier for early practice.
What is the easiest thing to whittle?
Simple shapes such as a mushroom, heart, small tree, leaf, or basic house are good candidates because they are recognizable without requiring extensive fine detail.
Is a dull carving knife safer?
Do not assume that dull automatically means safe. A poorly performing edge can encourage excessive force and unpredictable tool behavior. Maintain tools according to the manufacturer’s instructions and always use safe cutting technique.
Where to Go Next
Choose one simple project rather than spending another week researching carving.
Get an appropriate piece of wood.
Learn how your tool is intended to be used and maintained.
Make controlled cuts.
Finish something small.
Then make the second one a little better.
That progression will teach you far more than buying another box of tools and leaving them unopened.
For more beginner information, continue with our basic woodworking techniques, wood types guide, or hand saw guide.