Basic Woodworking Techniques
Woodworking is a gratifying hobby that can produce beautiful and functional projects. While advanced woodworking relies on specialized tools and intricate joinery, beginners can make amazing things with just a few hand tools and basic techniques. This article covers fundamental woodworking skills and concepts useful for both new woodworkers and experienced crafters looking to brush up on the basics.
Table of Contents
- Safety Equipment and Procedures
- Measuring and Marking Basics
- Straight and Smooth Cuts
- Drilling Straight Holes
- Sanding and Finishing
- Portable Power Tool Use
- Stationary Power Tool Basics
- Clamping and Workholding
- Gluing and Assembly Basics
- Basic Joint Construction
- Conclusion
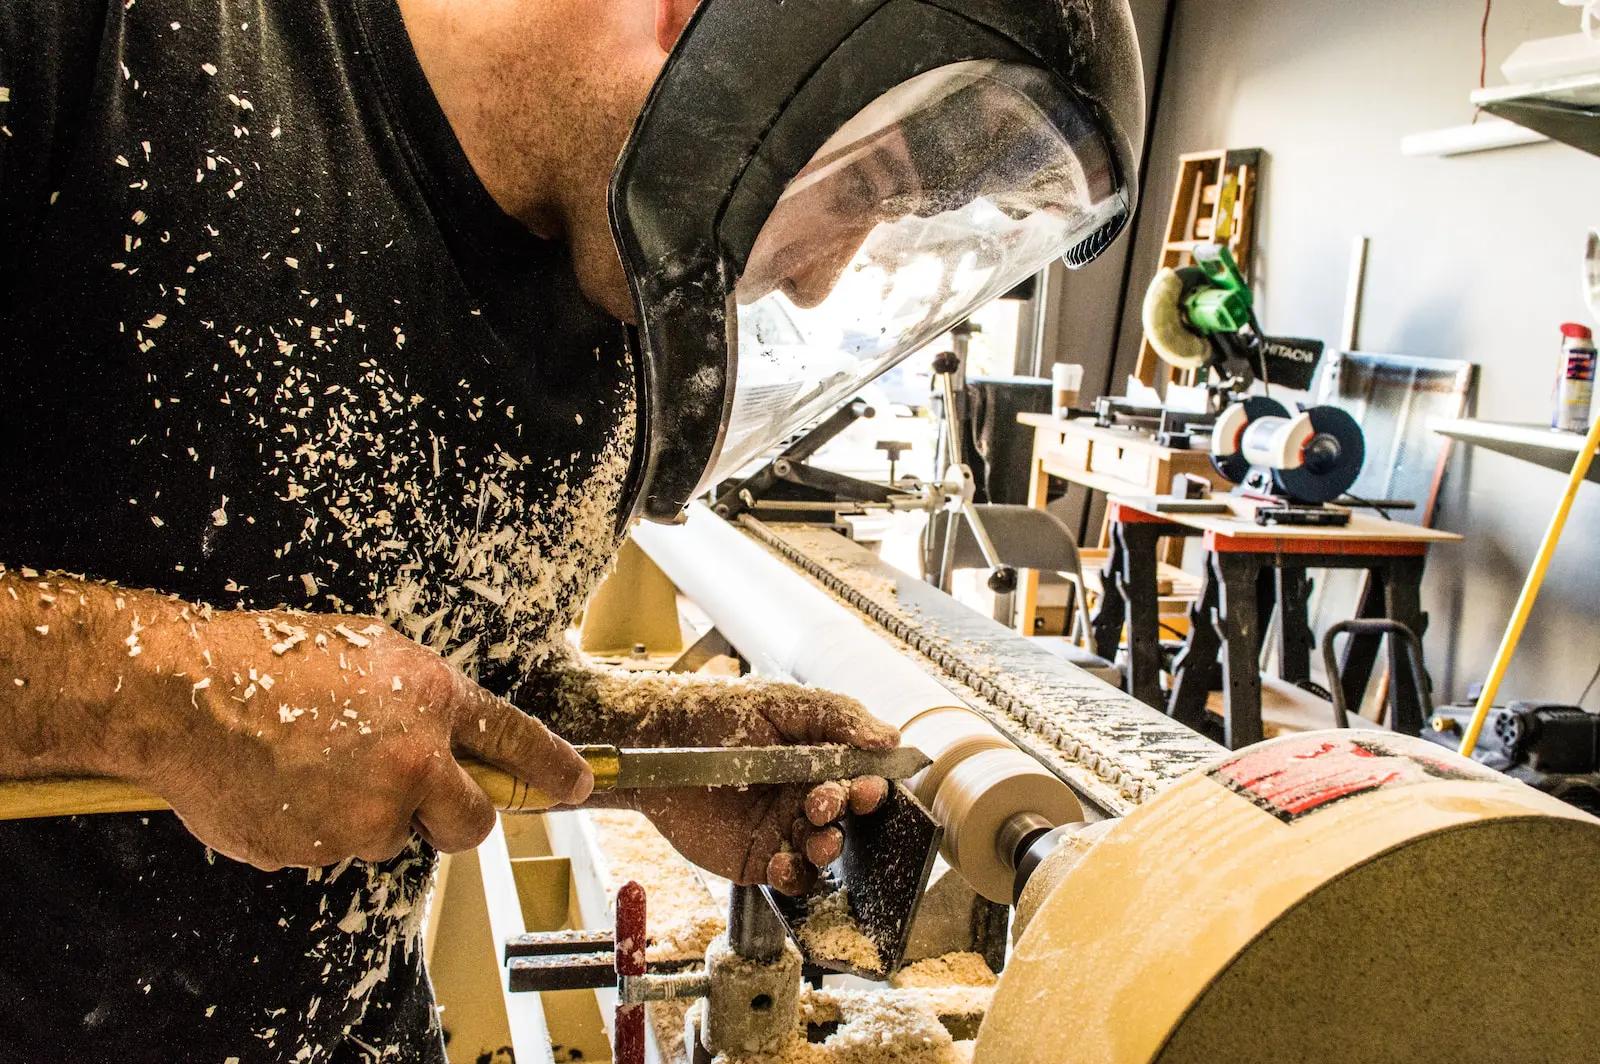
Safety Equipment and Procedures
Safety should always be the top priority. Woodworking involves sharp tools and heavy machinery. Make sure to use caution and follow these basic safety steps:
- Wear safety glasses to protect your eyes from flying chips and sawdust. Consider a face shield for an extra level of protection.
- Use dust masks and respirators when tasks produce fine dust. Exposure can cause respiratory issues over time.
- Wear ear protection when using loud power tools like table saws, planers, jointers etc. Hearing damage is cumulative.
- Make sure tools have safety guards installed and in working order. Never remove or disable guards.
- Follow all manufacturer safety instructions for tools and machinery. Pay close attention to warnings.
- Use push sticks and blocks to keep hands a safe distance from cutting edges and blades. Avoid awkward hand positions.
- Make sure work pieces are securely clamped or held in jigs and vises to prevent movement and kickback.
For more safety tips, check out our article on Woodworking Safety.

Measuring and Marking Basics
The first step in any woodworking project is accurate measuring and marking. As the old saying goes – measure twice, cut once. Having basic math skills and understanding fractions helps. Key measuring tips:
- Use good quality tools – retractable tape measure, steel ruler, framing square, combination square, protractor etc. Avoid low quality flexible rulers.
- Hook tape measure ends firmly over the edge being measured. Don’t allow the hook to slide off an edge.
- When possible, mark critical dimensions on multiple faces of the stock to allow transferring marks if one face is cut away.
- Mark with a sharp pencil. Softer leads create thicker lines that are easier to see.
- Gauge lines can be marked with cutting wheel tools for added precision when outlining joinery.
- Confirm lines are square using triangles and combination squares. Check alignment before cutting.
- For finish work, use marking knives to scribe lines lightly on the surface rather than gouging with pencils.
For beginners, it might be helpful to check out our Beginner’s Guide to Wood Carving.
Straight and Smooth Cuts
Making square, straight, clean cuts lays the foundation for strong joints and well-fitting projects. Follow these tips:
- Use sharp high quality blades – fresh chop saw blades, new jigsaw blades, sharp handsaws etc. Let sharp tools cut without forcing.
- When using handsaws, let the blade cut with long smooth strokes using light downward pressure. Don’t forcefully bear down.
- Cut just outside of lines whenever possible, then pare or sand to the line for a clean edge. Avoid cutting beyond lines.
- Clamp straightedge guides to stock when using circular saws or routers to prevent angled cuts. Don’t cut freehand.
- Set chop saw and miter saw fences at 90° to the table to double check blade squareness before cutting.
- Make relief cuts at inside corners on cuts that would otherwise bind the blade allowing clean cuts into the corner.
- Use a miter box to guide backsaws or small handsaws for precisely angled crosscuts under 2 feet long. Great for picture frames and small trim.
- Check cuts with squares and straightedges to look for any blade drift or angled cuts. Recut as needed.
For more on saws, check out our guides on Beginner Table Saws and Hand Saws Guide.
Drilling Straight Holes
Being able to drill straight, clean holes is an essential basic skill. Follow these drilling guidelines:
- Use sharp drill bits appropriate for the material being drilled. Slowly dulling bits tear up hole edges.
- Avoid pushing too hard on portable drills. Let the drill do the work at an appropriate speed for the bit diameter without forcing.
- Clamp stock down firmly or use a drill press vise to prevent twisting. Use scrap wood under thin stock to prevent tearout on the underside.
- Drill perpendicular whenever possible. Use a drill press, jigs or angled blocks to maintain straight angles on required angled holes.
- Peck drill deep holes in increments – drill partway, retract to clear chips, then drill deeper again. This relieves binding.
- For clean through holes with portable drills, drill halfway from one side then finish from the other. Or use sacrificial scrap on the underside.
- Set depth stops on drill presses to avoid plunging too deep. Do test holes first in scrap material to calibrate.
- Lubricate bit shanks and hole interiors to prevent binding. Soapy water, oil, or commercial bit lubes work well.
For more on tools, check out our article on 10 Woodworking Tools That Beginners Need.
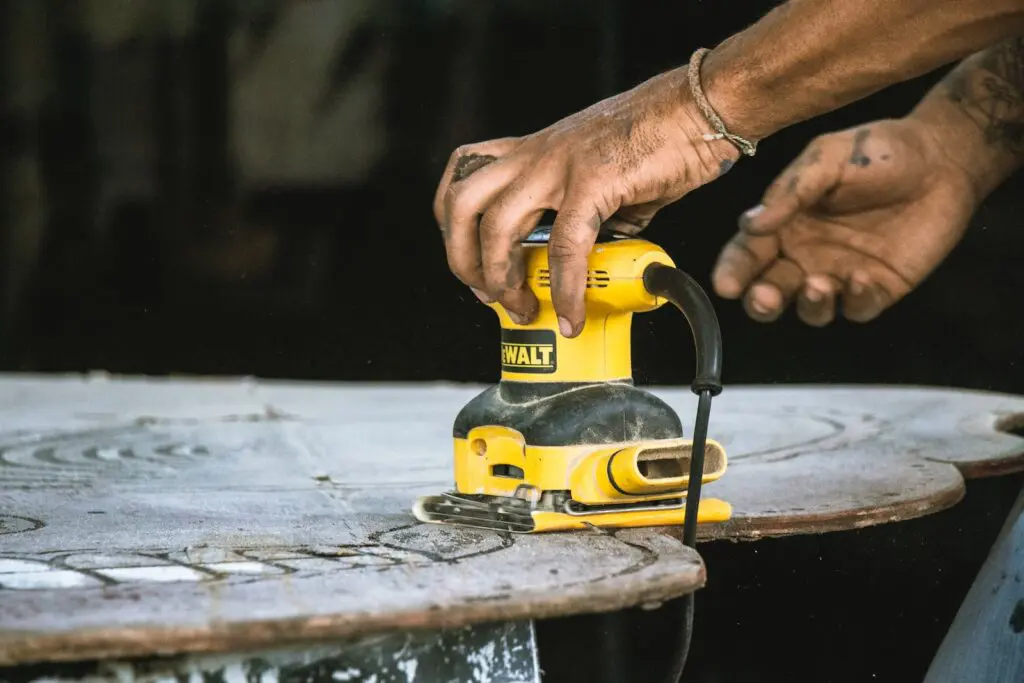
Sanding and Finishing
Sanding smooths wood and prepares surfaces for finishing. Finishing protects the wood and gives projects a completed, quality appearance. Key tips include:
- Work up through grits of sandpaper in sequence from coarse to fine – 80, 100, 120, 150, 220 etc. Don’t skip grits or scratches won’t be removed.
- Use sanding blocks whenever possible for flat surfaces. This prevents creating dips and valleys from an uneven grip.
- Inspect surfaces closely under good angled light to detect any machine marks or changes in flatness that require more sanding.
- Be mindful of wood grain direction. On open grained woods, go with the grain until at least 120 grit before carefully going across it.
- Use tack cloths between sanding grits to pick up dust. Residual grit particles interfere with smoothing at finer grits.
- Apply finishes smoothly using clean brushes, rags or applicators. Avoid trapped bubbles and brush strokes. Allow full curing between coats.
- Oil based finishes offer good penetrating protection for outdoor projects. Water based finishes lend a smoother painted-on look.
- Use paste wax over already cured varnishes or oil finishes for added protection and sheen. Avoid applying waxes directly to raw wood.
- Edge band plywood to prevent exposing raw plies. Use iron on veneer edge banding or glued strips of solid wood.
For more on finishes, check out our article on Different Wood Finishes and How to Apply Them.
Portable Power Tool Use
Cordless drills, circular saws, jigsaws and more get used constantly for all phases of woodworking. Employ them safely with these fundamental tips:
- Select appropriate blades for the tool and task – use fine finish jigsaw blades on curves; plywood cutting circular saw blades for sheet goods etc.
- Read tool manuals thoroughly and understand basic operation, switches, speeds, accessories etc. before use.
- Make relief cuts in corners and tight spots to achieve cuts that otherwise might bind up.
- When plunge cutting, start blades rotating first before setting tool down to avoid potential kickback.
- Secure and support stock properly using clamps, jigs and vises to prevent binding and loss of control.
- Pay attention to blade cut direction and kickback risks. Stand safely clear of kickback zones and pull tools into cuts.
- Make multiple lighter passes when using routers, palm sanders, planers etc. to reduce load and prevent gouges from over-aggressive cuts.
- Allow motors to reach full speed before starting cut and to fully stop before setting tools down after completing cuts.
Stationary Power Tool Basics
Table saws (#CommissionsEarned), jointers (#CommissionsEarned), thickness planers (#CommissionsEarned), drill presses (#CommissionsEarned), and other large stationary tools tackle heavy duty woodworking jobs. Operate them safely:
- Use all safety accessories – guards, splitters, push sticks, featherboards, jigs etc. Never remove guards or disable safety mechanisms.
- Allow tools to reach full RPM speed before feeding in stock. Wait for blades to stop fully before adjusting or leaving a machine.
- Make workpieces readily accessible for operation at hand and waist height. Avoid reaching or awkward positioning.
- Feed stock slowly and smoothly, allowing the tool motor and blades to do the cutting work. Don’t force cuts.
- Make multiple shallow passes for smoother, safer cuts rather than single deep passes at limits of tool capacity.
- Arrange tools for efficient workflow – jointer to planer to table saw for dimensioning lumber; drill press by mortiser etc.
- Set fences, stops, depth settings etc. accurately for each operation. Double check alignments with squares before cutting.
- Provide adequate support for long boards and large panels using rollers, tables, supports and helpers to control stock.
For more on stationary tools, check out our guide on Cabinet Making Table Saw.
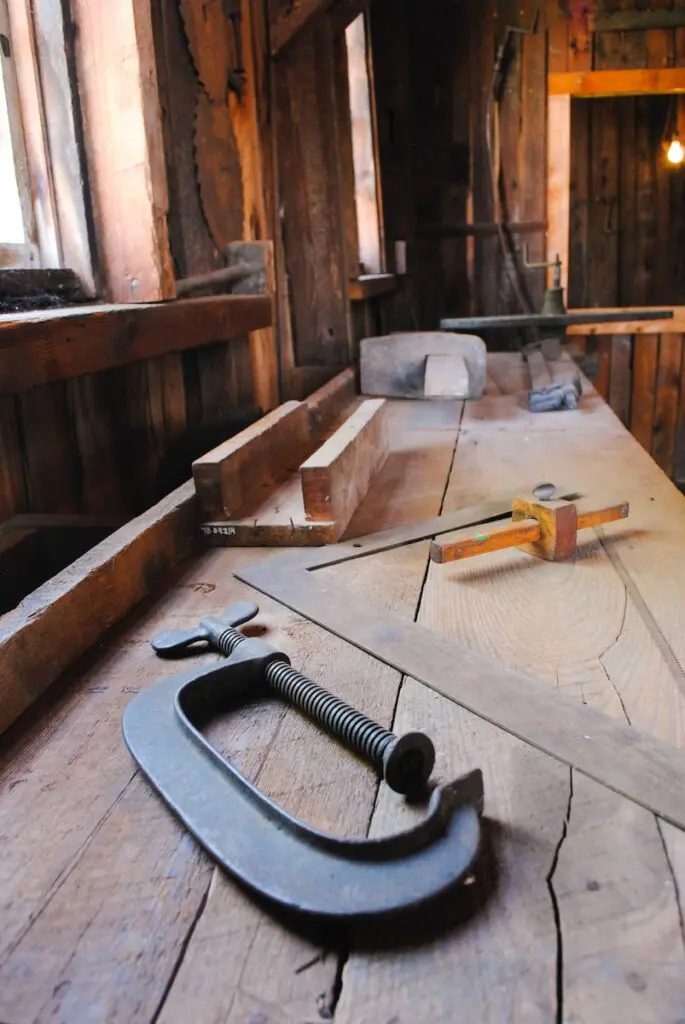
Clamping and Workholding
Proper clamping keeps work securely in position for accuracy and safety when machining, assembling, gluing and finishing. Remember:
- Use pads or scrap wood to prevent clamps from indenting or marking work pieces.
- Place clamps perpendicular to the direction of force being applied when possible. This better resists splits.
- Arrange clamps in opposing pairs on both sides of panels or assemblies for even distribution of pressure.
- Use bar clamps, pipe clamps, strap clamps, and specialty clamps matched appropriately to the size of stock and clamping force needed.
- Construct simple jigs from scrap wood and clamps to hold irregular shaped pieces securely. Use hold down clamps on drill press tables.
- Set stops on stationary tool tables to quickly register clamped pieces for repetitive machining like pocket holes, mortises etc.
- Unclamp and dry fit assemblies before final glue up to confirm proper fit. Over clamping can throw pieces out of alignment.
- Keep sufficient clamps of varied sizes on hand. You can never have too many clamps for assembling projects and panels.
Gluing and Assembly Basics
Proper gluing technique builds strong, long-lasting wood joints and assemblies. Remember to:
- Use the appropriate adhesive for the job – aliphatic resin, polyurethane, cyanoacrylate etc. Follow manufacturer instructions.
- Glue only freshly machined mating surfaces for maximum bond strength and clamp only completed joints – avoid reclamping once bonding begins.
- Apply adhesive evenly in a thin layer only to joint surfaces, not all over the workpiece. This prevents excess squeeze-out.
- Assemble pieces with light pressure at first allowing adjustment, then tighten clamps fully for maximum strength.
- Use protected clamping blocks to evenly distribute pressure across large panel glue ups.
- Immediately wipe away any excess glue squeeze-out before it dries using a wet cloth.
- Once cured, remove clamps and immediately scrape or sand any dried glue bumps and ridges before they fully harden.
- Allow ample cure time for wood filler, glue and finishes before sanding or machining to prevent tearing out uncured material.
Basic Joint Construction
Certain wood joints show up frequently in all types of projects. These foundations should be in every woodworker’s repertoire:
- Butt joints – The simplest joinery – mating two square cut boards end to end. Use in non-load bearing applications like trim.
- Lap joints – Overlapping two boards decreases end grain glue surface. Useful for table aprons and drawers.
- Rabbet joints – A rabbeted shoulder provides more gluing surface. Commonly used in cabinet casework.
- Dado joints – Grooves allow panels to be inserted into frames. Useful for shelves, partitions etc.
- Biscuit joints- Help align panels and boards for edge gluing. Prevent slippage as clamps are tightened.
- Pocket hole joints – Quick easy right angle joining using screws concealed in pre-drilled pockets. Great for face frames and carcase joinery.
- Mortise and tenon – Strong traditional joints for major structural components like table legs and aprons. Requires precision cutting.
- Dowels – Glued wood pins reinforce butt and miter joints. Dowel jigs simplify accurate spacing and drilling.
- Tongue and groove – Interlocking rails and panels used extensively in paneling, trim, and cabinet doors.
For a deeper dive into joinery, consider reading our article on Wood Joining Techniques.
Conclusion
With practice mastering these starter techniques and joints, you’ll gain skills and confidence to take on much more advanced woodworking projects. Consider taking introductory classes at community colleges or local woodworking clubs if available in your area. Read books and watch in-depth online videos to continue expanding your capabilities. Working through beginner project plans is a great way to strengthen fundamental woodworking proficiencies.
For more inspiration and guidance, explore our articles on:
- Understanding Wood Types and Their Uses
- How to Get Into Woodworking
- Is Ted’s Woodworking Worth It?
- LED Shop Lights
- Most Profitable Woodworking Projects 2023
- Table Top Band Saw Wood
- Setting Up a Woodworking Shop in Your Garage
- Water Saw Reviews
- Wood Sander
- Woodpecker Tools Alternatives
- Beginning in Woodworking
- Woodworking Tools
Happy woodworking!

