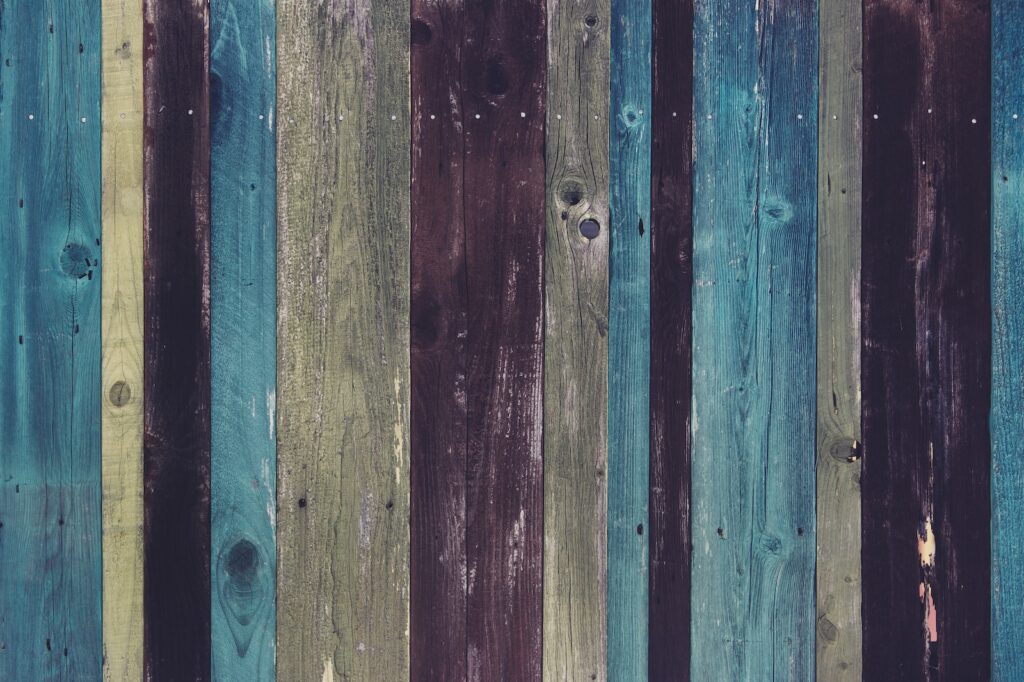
Painting wood opens up unlimited possibilities for adding bold, vibrant color to projects. Properly applied painted finishes protect the wood while allowing for creative decorating options. This article explores common types of paints used on wood, preparation steps, application techniques, and creating decorative painted effects.
Table of Contents
- Painting vs. Staining Wood
- Preparing Wood for Painting
- Types of Paint for Wood
- Brushing and Rolling Paint
- Advanced Painting Techniques
- Painting Wood Furniture
- FAQs
- Additional Resources
Painting vs. Staining Wood
Paint adheres as a surface film on top of the wood, while stains penetrate into the wood pores. Reasons for choosing to paint wood include:
- Ability to cover defects, repairs, and wood flaws under opaque coating
- Create any color rather than just transparent wood tones from stains
- Dramatically change look from natural wood to bold painted finish
- Easier to apply evenly than stains on some tricky grain patterns
- Wider selection of sheens from ultra mattes to high gloss enamel
Preparing Wood for Painting
Proper preparation is crucial for painted finishes to adhere well and withstand wear:
- Fill any holes, dents, cracks etc. and sand smooth. Use appropriate filler for surface type.
- Remove existing finishes or paint entirely using chemical strippers or sanders. Get down to bare wood.
- Sand smooth using 120-150 grit paper. Round over sharp edges slightly.
- Clean wood thoroughly to remove dirt, wax, oils or other contaminants. Wipe with mineral spirits.
- Apply primer formulated for wood before painting. This provides added adhesion and seals the surface.
- Lightly sand primed surfaces to remove any grain raise before painting topcoats.
Types of Paint for Wood
Various paint formulations work well for different situations:
Latex Acrylic Paint (#CommissionsEarned)
- Water-based acrylic latex paints are extremely common for wood surfaces, especially interior projects.
- Provide good adhesion and protection while allowing wood movement. Low odor and clean up in water.
- Ideal for children’s furniture, unfinished wood trim, DIY furniture makeovers.
- Available in all sheens – flat, satin, semi-gloss, and high gloss.
Alkyd Oil Paint (#CommissionsEarned)
- Known as oil-based, although modern versions use alkyd synthetic resins.
- Offer superior penetration and protection on exterior wood surfaces like siding, trim, fences, and furniture.
- Ideal when painting over stained or sealed wood with existing layers that require adhesion.
- Produce a thicker, more durable paint film than latex acrylics alone.
Acrylic-Latex Enamels (#CommissionsEarned)
- Contain urethane resins to create an extra tough, glass-like enamel surface.
- Provide heightened moisture, chemical, and abrasion resistance.
- Well suited for bathrooms, kitchens, doors, cabinets, trim, and furniture subject to wear.
- Require precise surface preparation for optimal bonding to the wood substrate.
Milk Paint (#CommissionsEarned)
- Traditional organic milk protein-based paint for a soft matte look.
- Environmentally friendly, non-toxic, and food safe when cured. Ideal for childrens’ items.
- Available in powder to mix as needed. Lime resistant for exterior use.
- Multiple thin coats recommended. Chalky appearance not for every application.
Brushing and Rolling Paint
Applying paint smoothly ensures an attractive durable finish:
- Use quality nylon or polyester brushes suited to the paint type. Clean well first.
- Maintain a wet edge and overlap strokes. Move quickly but smoothly.
- Load adequate paint on the brush and flow on, avoiding heavy brushing back and forth.
- Apply multiple thin coats for a fine finish rather than one thick wet coat.
- Use small foam rollers and mini trays for faster coverage on large surfaces. Maintain pressure for even coats.
- Thin paint sparingly with water or recommended solvent to improve flow and minimize brush marks if needed.
- Work methodically and systematically so no areas are missed and finish consistency is uniform.
- Sand or rub gently with extra fine steel wool between coats to remove dust nibs and debris in the film.
Advanced Painting Techniques
Beyond basic brushing and rolling, other painting techniques enable decorative effects:
Sponging – Cut shaped sponges to dab paint on for mottled color variations.
Ragging – Drag soaked paint rags across wet painted areas to create blurred edges.
Strié – Use specialty brushes with rigid nylon bristles to make elongated brush stroke textures.
Combing – Pull a wide-toothed comb through wet glazes over basecoats to form parallel rippled lines.
Spattering – Flick bristles with a stick or brush over paint-loaded tools to speckle small dots onto surfaces.
Stamping – Press designs carved into potatoes or foam onto painted coats for repeat patterns.
Stenciling – Cut shapes from cardstock. Place on surface and apply paint over openings using dabbers.
Woodgraining – Use graining tools to imprint color and texture to mimic natural wood looks.
Marbling – Swirl blended paints by stirring or spraying to create organic stone-like patterns.
Chalk Paint Distressing – After chalk paint dries, rub edges with sandpaper to reveal wood tones underneath.
Practice these techniques on scrap wood before tackling important projects. Paint allows for unlimited creativity in wood finishing.
Painting Wood Furniture
Follow these best practices when painting worn wood furniture pieces:
- Disassemble fully. Remove hardware and take apart jointed components to paint separately.
- Fill holes, gouges, or cracks with appropriate wood filler and sand smooth when dry.
- Sand well using 120-150 grit to degloss and roughen existing finish or wood. Wipe away dust.
- Apply quality oil-based primer to seal surface. Allow to fully dry overnight before sanding again lightly.
- Use latex-acrylic paint for the topcoats. Consider a furniture and cabinet paint formulated for high-use pieces.
- Apply at least two coats for coverage and durability, letting dry fully between coats.
- Replace hardware, reassemble, wax or seal painted finish for added protection when fully cured.
Properly prepped and painted, worn older wooden furniture can be inexpensively revived into colorful updated showpieces.
FAQs
Q: What are some benefits of painting wood versus staining it?
A: Painting wood allows covering flaws, easily changing color dramatically, avoiding blotchy absorption issues, and adding any sheen from ultra matte to high gloss. Paint adheres as a surface film while stains penetrate wood pores.
Q: What preparation should be done before painting new or previously finished wood?
A: Properly clean, sand, and prime the wood substrate. Remove existing finishes completely. Round edges and fill imperfections. Apply wood primer to seal and improve paint adhesion. Lightly sand primed surfaces before painting.
Q: What types of paint work best for exterior wood surfaces?
A: Alkyd oil-based paints provide superior protection on exterior wood surfaces like siding, decks, outdoor furniture etc. Latex acrylics alone lack the penetration and durability of alkyds for prolonged outdoor exposure.
Q: How should paint be applied properly when brushing or rolling?
A: Use quality nylon/polyester brushes suited to the paint. Maintain a wet edge and feather out strokes. Move quickly but smoothly. Load adequate paint on the brush and flow on rather than brushing back and forth heavily.
Q: What decorative paint techniques like ragging or sponging can be used?
A: Ragging involves pulling soaked paint rags across wet paint to create blurred edges. Sponging uses cut shaped sponges to randomly dab paint on for mottled effects. Strié, combing, stippling, woodgraining, and marbling are other options.
Q: What steps should be taken when painting worn antique wooden furniture?
A: Fully disassemble, fill flaws, sand, prime, paint using at least two coats of latex acrylic, and reassemble once fully cured. Consider a paint formulated for high-use furniture pieces.
Q: How long should I wait between applying primer and painting the finish coats?
A: Oil or shellac-based primers require an overnight dry time before sanding and applying finish paint coats. Quick drying latex primers may only require 2-4 hours before being painted over.
Q: What sheen of paint works best for furniture and cabinets?
A: Satin, semi-gloss, or gloss sheens are ideal for furniture, cabinets, trim, and other high use painted wood surfaces. Satin provides some sheen while minimizing noticeable brush strokes.
Q: Can chalk paint be used to refinish old wooden furniture?
A: Yes, chalk paint finishes are popular for refinishing vintage furniture. The matte look highlights distressing. Multiple thin coats are recommended and wax is often applied over chalk paint as a topcoat.
Q: How is bleeding of wood resins or stains prevented when painting pine or cedar?
A: Applying an oil-based primer formulated to block stains will prevent bleed through of resins or natural wood stains into the topcoat paint layers. This ensures uniform paint appearance and adhesion.
Additional Resources
For more tips see:
- Woodworking Safety
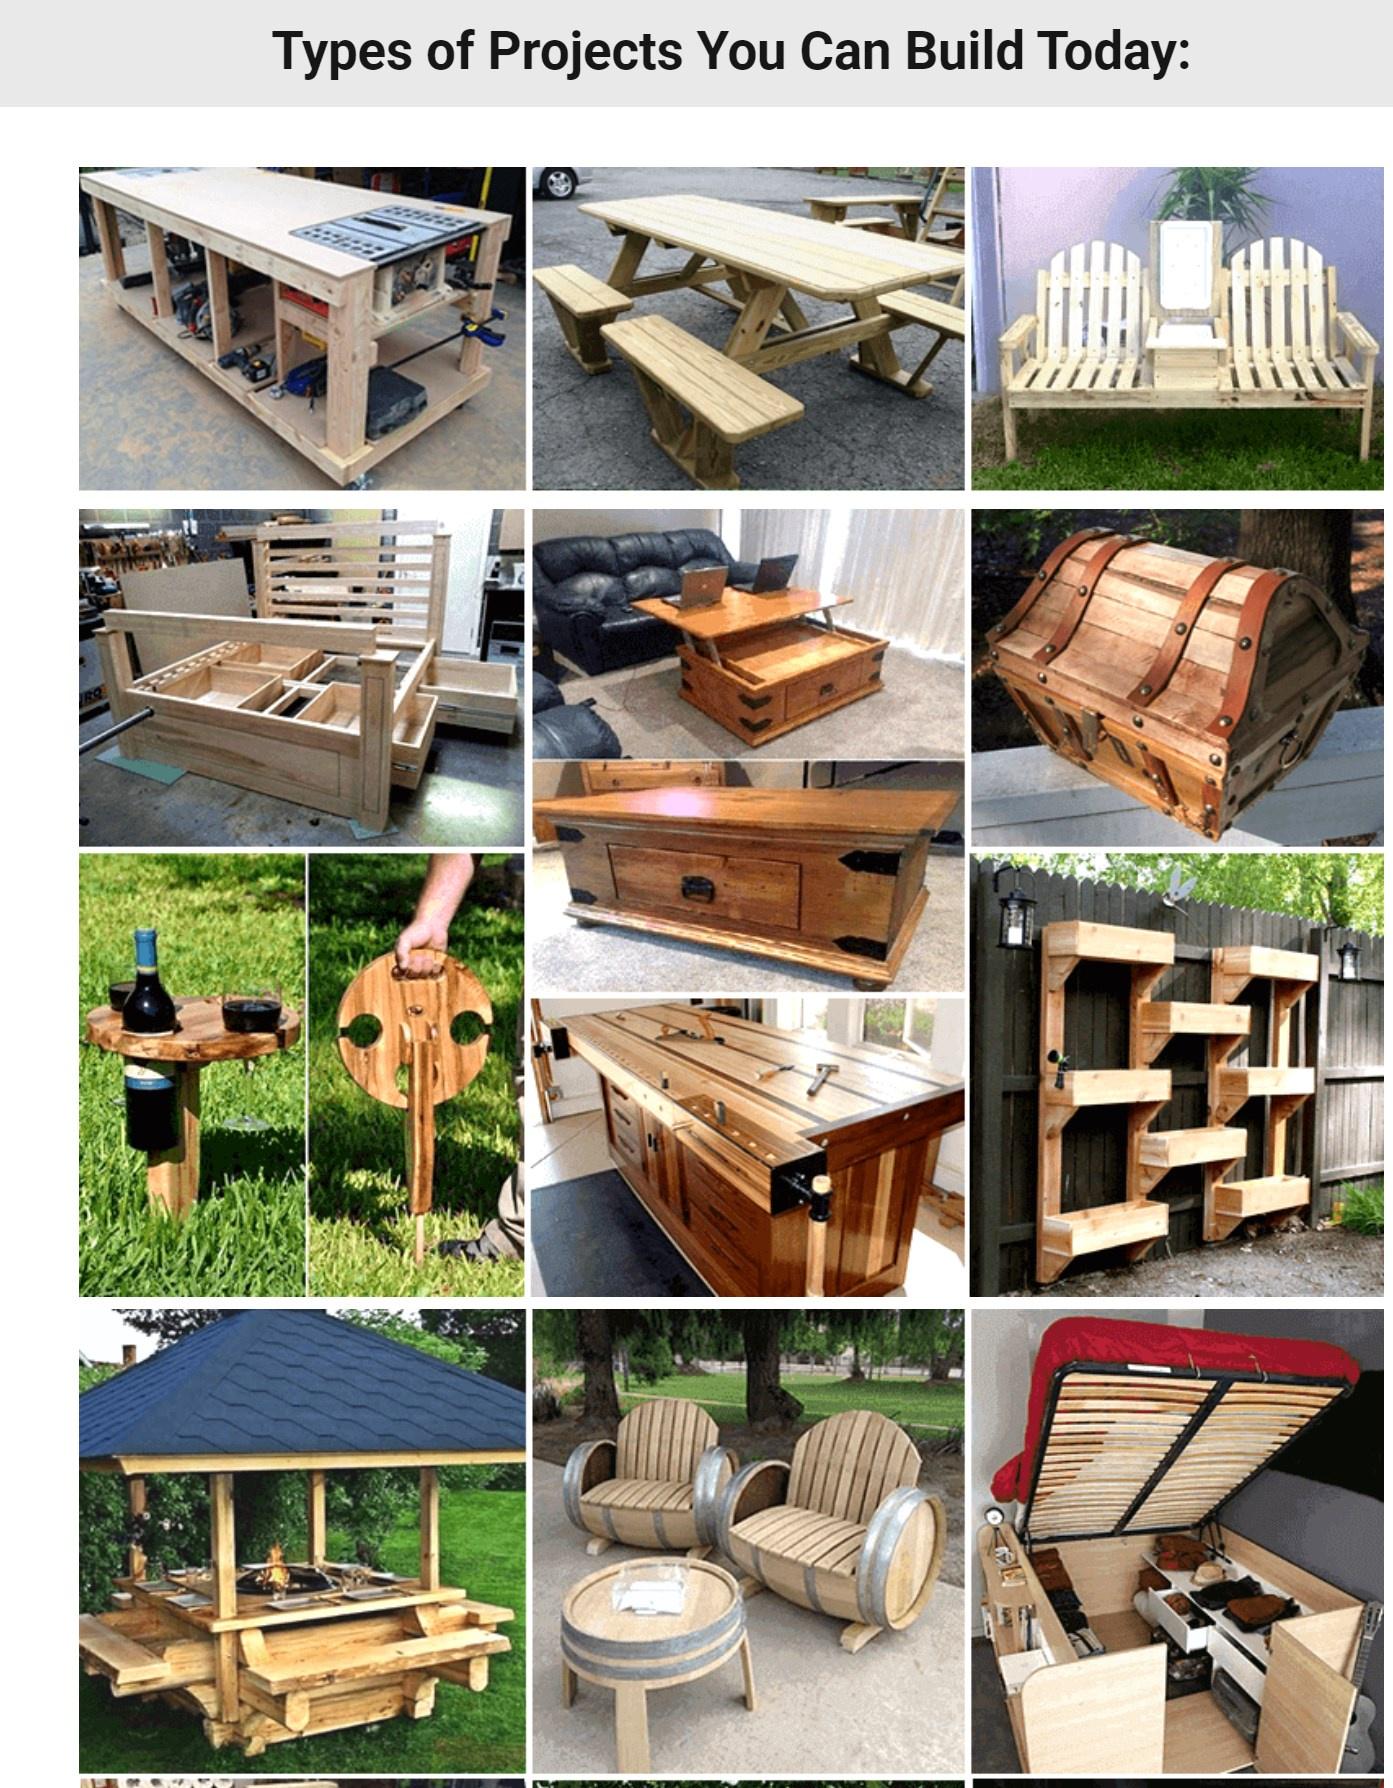
- DIY Wood Projects
- Kids Woodworking
- Sanding and Prepping Wood
- Applying Wood Finishes
With the right preparation and application technique, painted wood surfaces can be just as durable and gorgeous as stained wood. Paint allows limitless options for adding color to highlight wood projects.