Techniques like screening, chemical stripping, and staining to revitalize wood floors without full sanding and refinishing.
Table of Contents
- Introduction
- Evaluating the Floors
- Preparing for Resurfacing
- Screening Floors
- Chemical Stripping of Finishes
- Staining and Topcoating
- Tips and Cautions
- Considerations for Severe Damage
- Conclusion
- Wood Floor Refinishing Without Sanding FAQ
Introduction
Over time, wood floors become worn, scratched, discolored, and dull from heavy use and traffic. Traditionally, refinishing them involves sanding down to bare wood before applying stains and sealants. However, deeper sanding removes more wood than desired, shortening the floor lifespan. With proper assessment and technique, floors can often be revitalized using alternative resurfacing methods that avoid extensive sanding. For more tips on getting started with woodworking, visit our beginner’s guide.
Evaluating the Floors
Walk through the space and note areas of pet stains, heavy scratching, gaps, cupping, or other damage that may still require sanding and boards replacement. Test floor soundness by tapping for hollow spots that indicate moisture damage. Assess thickness by measuring board width and looking for “tongue” on edges. Thinner floors have less sanding tolerance.
Review flooring type and age. Is it solid hardwood, engineered wood, or laminate? Older floors may be thinner or prone to moisture damage. Understand species hardness and grain pattern to anticipate how it will re-stain. Consult an expert if unsure about the flooring construction. Proceed with care on floors with limited sanding capacity.
Preparing for Resurfacing
Clear space by removing all furnishings and wall hangings. Vacuum and sweep thoroughly. Tack down loose boards or nails. Fill any cracks, holes, or gaps with wood filler. Ensure base trim is firmly adhered or remove and set aside for reinstallation.
For stain projects, expose a small test patch down to raw wood by gently sanding. Stain and finish the sample as planned for the overall floor to evaluate color accuracy. Make adjustments as needed before proceeding. Have all necessary supplies and equipment ready to minimize downtime once work begins. For more on different wood finishes and how to apply them, visit our wood finishes guide.
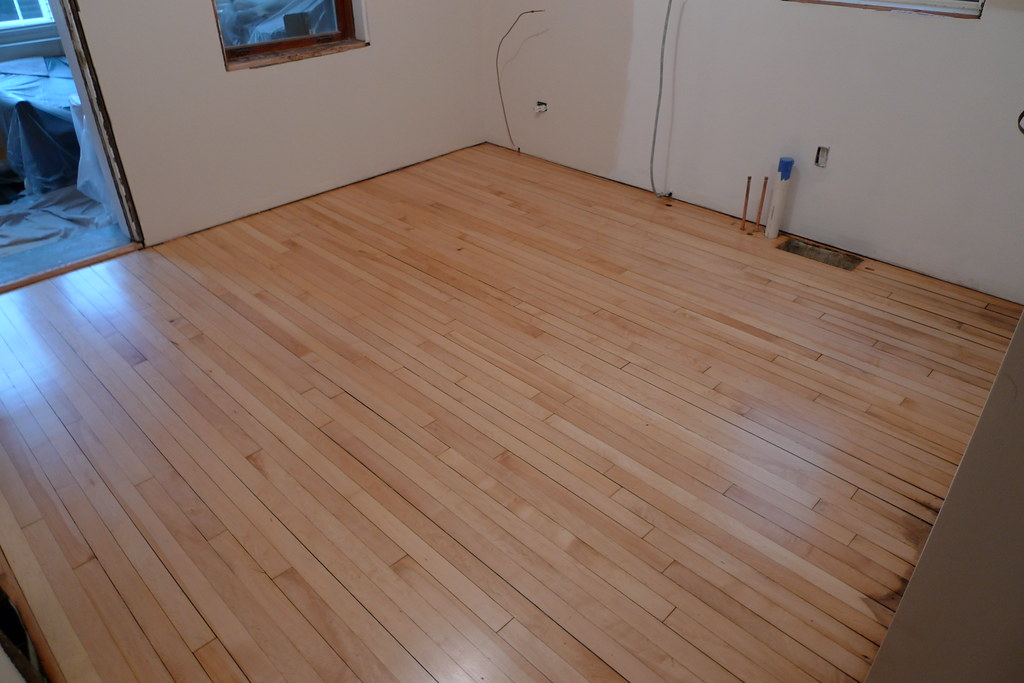
Screening Floors
Screening uses coarse abrasive pads in place of sandpaper to lightly scuff the floor’s surface. This levels uneven areas and deglosses the existing stain or varnish coat to allow reapplication. It minimizes wood removal versus sanding. Disk floor sanders or multipurpose floor machines fit with screens can complete the process relatively quickly.
Work methodically across boards using 60-100 grit screens. Vacuum dust between passes. Closely monitor for scratches, gouges, or areas needing localized sanding. Screen until consistent roughness is achieved. Tack and re-vacuum before prepping for new finish. Screening alone may suffice for floors in good shape just needing a stain refresh.
Chemical Stripping of Finishes
For floors with failing sealants or excessive old finish buildup, chemical strippers offer an alternative to hand scraping or sanding entirely down to bare wood. Use heavy-duty products formulated for wood flooring containing methylene chloride or potassium hydroxide.
Apply a thick liquid coating following product directions using a trowel or floor buffer with stripping pads. Allow stripper to dwell for 10-20 minutes. The finish bubbles and separates from the wood. Scrape away softened residue using a putty knife, plastic scraper, or auto scrubber machine. Neutralize any remaining chemical cleaner. Let dry fully before sanding localized spots only as needed.
Staining and Topcoating
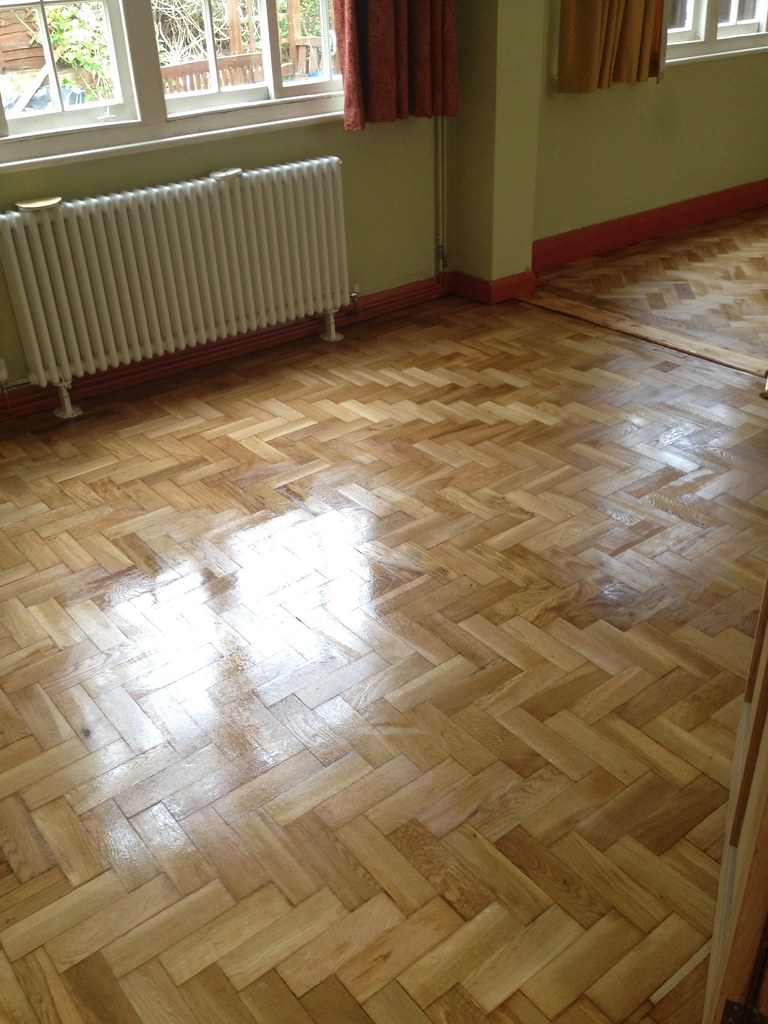
With the floor stripped and cleaned, it’s ready for staining, resealing, and protecting. Apply wood conditioner or pretreatment for ideal staining. Work oil-based stain into the wood using brushes, rags, or an applicator. Let stain penetrate for 15 minutes before wiping thoroughly with clean cloths. Allow proper drying times before adding sealants.
Use water-based or oil-based polyurethane designed for floors to add protective layers. Apply 2-3 coats per manufacturer instructions with light sanding between coats. For durability, consider moisture-cured urethane or epoxy systems. Let cure fully before normal use. Add felt pads under furniture legs to protect the refreshed floors.
Tips and Cautions
Work safely using gloves, goggles, and masks when indicated. Never mix chemical products together and ensure proper ventilation. Thoroughly clean floors between steps. Closely follow all preparation, application, and drying instructions from manufacturers.
Properly dispose of chemicals, rags, screens, and waste. Being meticulous about patches, edges, and corners will provide better overall results. Address any lingering rough spots with caution not to over-abrade. Preventative maintenance will extend the renewed floor’s lifespan. For more on woodworking safety, visit our safety guide.
Considerations for Severe Damage
For floors with extensive pet stains, deep scratches and gouges, cupping, or thickness loss from prior sanding, damaged boards will likely need replacing. This involves prying up planks, scraping away old adhesives, removing staples, and adding new boards to match. Leave 1/8” expansion gaps and glue/nail replacement boards into place, sanding and feathering edges smooth.
Even in good overall condition, some floors may still warrant light sanding for stain and finish adhesion. This is especially true for wax-coated surfaces. Sand no deeper than absolutely necessary before recoating. Aggressive sanding quickly removes finite wood fibers needed for long-term integrity.
Conclusion
Wood floors bring warmth and beauty to homes, making preservation worth the effort. Refinishing without deep sanding better retains the wood while still reviving floors’ appearance. Methods like screening, chemical stripping, spot sanding, and recoating offer new life. With care and patience, treasured wood floors can be enjoyed for generations to come. Consult flooring professionals to assess best practices for your specific floors.
Wood Floor Refinishing Without Sanding FAQ
Q: When is sanding wood floors unavoidable?
A: For extensive pet stains, deep scratches, cupping, and thickness loss. Damaged boards may need replacing and sanding smooth.
Q: What are signs my wood floors can be refreshed without full sanding?
A: Overall good condition without major damage. EVEN wear and patina. Floors thick enough to allow resurfacing.
Q: What does screening floors involve?
A: Using abrasive screens to lightly scuff and degloss the finish coat. Levels uneven areas for reapplication of stain and sealant.
Q: What does chemical stripping remove from wood floors?
A: Softens and lifts failing sealants or thick finish buildup without heavy sanding. Prepares floor for new finish.
Q: How do you apply stains and sealants after resurfacing?
A: Follow manufacturer instructions for application and drying times. Use products designed for wood flooring.
Q: What precautions should you take with chemical strippers?
A: Wear protective equipment. Never mix products. Ensure adequate ventilation. Dispose of chemicals properly.
Q: How can you protect resurfaced floors from recurring damage?
A: Use felt pads under furniture. Maintain with consistent cleaning. Reapply sealants regularly.
Q: Can screened floors be stained a different color?
A: Screening exposes wood for stain absorption. Test samples first. Additional deglazing may be needed.
Q: How soon can refinished floors be walked on?
A: Follow dry times on finish products, typically 24-48 hours between coats and 1 week for curing.
Q: Are there environmentally-friendly options for refinishing floors?
A: Look for low-VOC and nontoxic finishes. Seek sustainable hardwood or use reclaimed boards where needed.