Covers prep work, materials (bead board, boards, planks), tips for cutting and finishing for a wood paneled accent wall.
Introduction
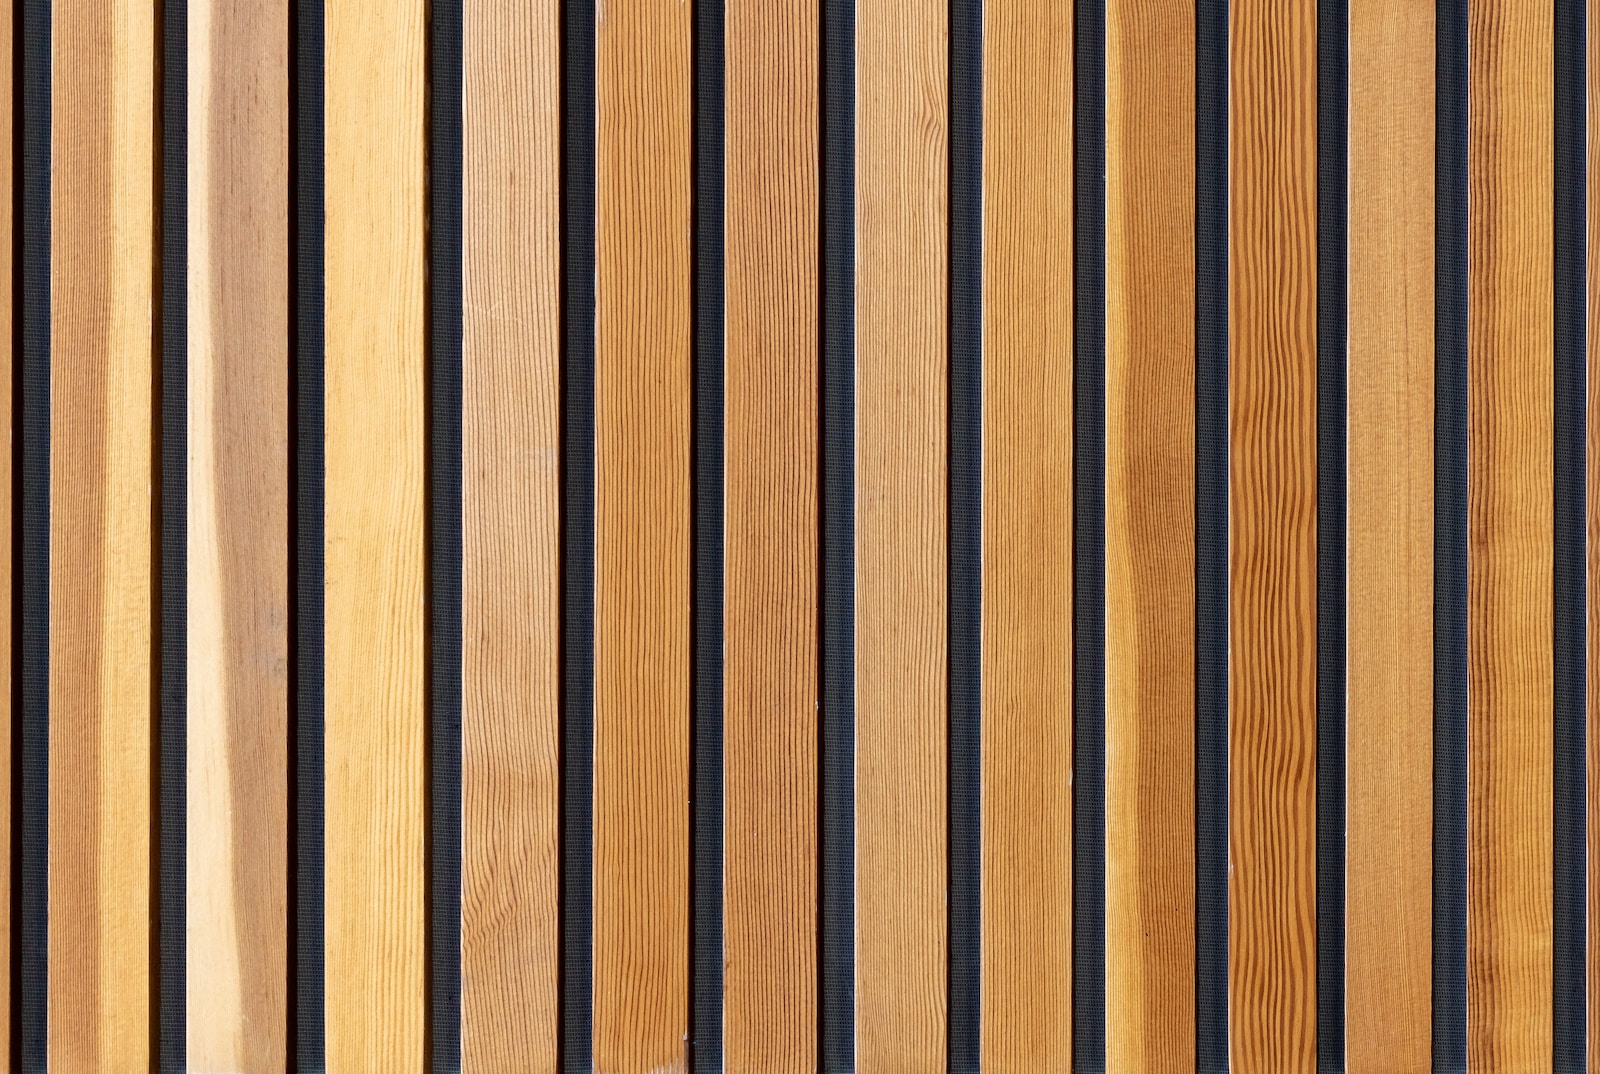
Wood wall paneling can add beautiful warmth, texture, and visual interest to any residential or commercial space. From rustic cabin aesthetics to refined shiplap accents, wood-paneled accent walls are an achievable DIY project. With proper planning, material selection, and installation techniques, you can transform the look of a room with gorgeous new wood paneling finishes.
Planning the Project
Evaluate the space to determine the best placement for a wood paneled wall. Focal walls in living spaces, headboards, fireplace surrounds, and entries lend well to an accent treatment. Consider how paneling can complement existing style and finishes or introduce desired elements like modern, farmhouse, nautical, or rustic looks.
Measure wall dimensions and windows or doors to calculate total square footage and material requirements. For easier installation, select standard length lumber sizes to minimize cuts while maximizing use of boards. Account for a 10% overage in purchasing materials. Choose panel style – shiplap, boards, beadboard, planks etc. and wood species to suit the room.
Preparing Walls
Ensure underlying walls are even, secure, and properly prepared to support paneling. Remove protruding nails or screws. Fill any large holes or gaps with spackle and sand smooth when dry. Clean surfaces thoroughly and prime before installation for better adhesion.
For the most professional results, use a level and furring strips to shim out any uneven areas of old plaster or drywall. Install new drywall over damaged areas for a perfectly smooth base. Mark the wall with a chalk line as an installation guide area if not covering the entire surface.
Choosing Paneling Materials
Numerous solid wood and composite options exist for DIY wall paneling:
- Plywood panels create painted feature walls.
- Tongue and groove boards allow tight seams.
- Beadboard offers Victorian elegance.
- Reclaimed barnwood brings repurposed rusticity.
- Shiplap makes modern statements with clean lines.
- Lumberyard hardwood boards scratch build customized panels.
Shop lumberyards, home centers, salvage yards, or online to find your desired size, wood species, grade, and milling style of boards within budget. Allow proper acclimatization and test cuts before installation day.
Cutting and Installing Wood Boards
Careful measurements, precise cuts, and level installation are key for a professional accent wall. Leave 1/8” gaps between boards and at perimeters to allow for minor expansion and contraction of natural wood over time. Use a miter saw with fine cut blade to cut boards to length with ends perfectly square.
Drill pilot holes near ends to avoid split outs when nailing. Test pieces together on the floor prior to attaching. Use a brad nailer and adhesive for strength and hidden fastening. Follow nailing schedules for proper spacing – every 6-8” along boards. Work from the bottom up, securing each row before starting the next.
Finishing Wood Paneling
Pre-finishing boards before installation provides protection behind as well as ease of application. Use primer, sand lightly, and apply two finish coats of paint or stain following manufacturer’s recommendations before attaching boards. Another option is to just prime the backside for moisture protection and finish walls and paneling together after installation.
If nailing through face, be sure to countersink nails and fill holes thoroughly for an ultra-smooth finished wall. Polyurethanes protect and seal stained wood. High quality latex or enamels cover painted paneling evenly. Let all finishes fully cure before use and furniture replacement.
Advanced Techniques
For inside corners or flawless paneling around windows, make precise miter cuts rather than simple butt joints. Dry fit and test angles before installation. Use scarf joints to join boards inconspicuously when necessary. Cut panels to overlap window and door trim rather than ending at sides for a built-in look. Apply trim over paneling edges for a finished custom appearance.
Conclusion
With attention to a few key preparation and installation steps, installing wood paneling is an achievable weekend project for DIYers. Transform an accent wall with beautiful, natural wood finished with paint or stain. Paneling adds texture, depth, and warmth to any space. Follow safety and finishing best practices to enjoy your new paneled feature wall for years to come.

Wood Wall Paneling FAQ
Q: What are some different paneling materials to consider?
A: Plywood, beadboard, shiplap, tongue and groove boards, salvaged barnwood, lumberyard boards, reclaimed wood.
Q: How should you prepare walls for installing paneling?
A: Fix imperfections, prime and paint walls for a smooth, even base. Use furring strips on uneven surfaces.
Q: What tools do you need to cut and install wood panels?
A: Miter saw, table saw, jigsaw for cutting. Level, nail gun, drill, adhesive applicator for install.
Q: What technique gives the most secure panel attachment?
A: Adhesive combined with finishing nails or brads into wall studs or blocking every 6-8 inches.
Q: Why leave expansion gaps between boards?
A: Natural wood movement from humidity means allowing 1/8″ gaps at seams and perimeters.
Q: Should you finish panels before or after wall installation?
A: Pre-finishing makes applying protection behind easier but finishing later conceals fasteners.
Q: How do you properly make inside corner joints?
A: Precisely mitered joints or overlapping boards hid seams around inside corners.
Q: How are panels best trimmed around windows and doors?
A: Cut panel edges to overlap trim for built-in look. Install trim atop panels at edges.
Q: Can you install paneling over drywall or plaster walls?
A: Yes, it attaches directly over existing surfaces in most cases. New backing not needed.
Q: What maintenance is required for paneled walls?
A: Dust carefully, clean with mild soap and water. Refinish surfaces over time as needed.